News & Tips

5 Unique Ways To Give Constructive Feedback
As a manager, one of your most important responsibilities is helping your team grow and perform. Sometimes that means delivering constructive feedback. But here’s the challenge: how do you give honest feedback that helps someone improve, without leaving them feeling…

Mastering The Focus Cell In Excel
In recent updates to Excel for Microsoft 365, a subtle but powerful feature has been rolled out — the Focus Cell. This tool helps you instantly identify where you’re working by visually highlighting: The active cell It’s entire row and…

Power BI vs Microsoft Fabric
Power BI and Microsoft Fabric are two powerful tools for working with data. But when should you use Power BI vs Microsoft Fabric, and which is the best tool for your next insightful data analysis? Microsoft Fabric is a new,…

Mastering The Basics of Effective Presentations
Great presentations don’t start with slides – they start with intention. Early in my career, I believed being prepared meant knowing what to say. But over time I learned that truly effective presenting is about making people feel something, not…

AI Policy Research & Statistics
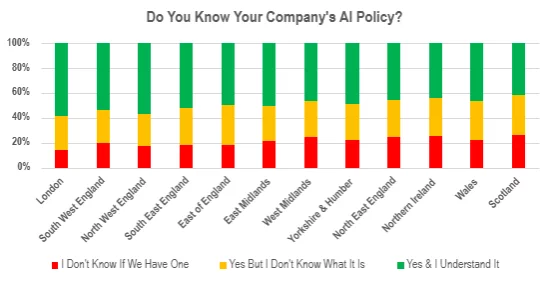
Everyone is talking about AI – but how many people understand how it will be controlled and implemented day-to-day in the workplace? The results of our survey were concerning, showing distinct inequalities between men and women, between older workers and…

Creating A Combo Chart (Two-Axis Chart) In Power BI
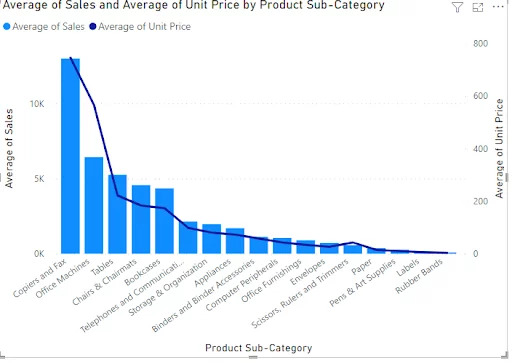
In this article, you will learn how to quickly create and edit the formatting of Power BI combo charts. Combo charts are dual-axis charts (they have a secondary Y-axis), making them great ways to compare two different datasets against another…

Creating Word Clouds [Power BI Visuals]
In this article, we will look at how to create a Word Cloud with Microsoft Power BI. We will see what a word cloud is, why it is useful, and how to perform various transformations on a Word Cloud. If…
Time Management Statistics: Original Independent Research
How are people managing their time? We conducted some bespoke research to see! Key Takeaways: Time Management Statistics Less than 1 in 5 people have a proper time management system (18%). Over 80% of people don’t have any time management…

Employee Retention Statistics [Updated For 2025!]
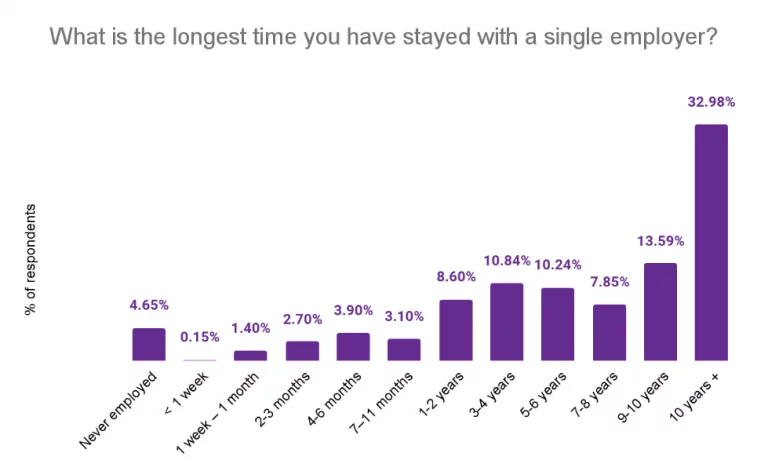
Keeping staff is absolutely vital to the success of your business. Getting the right people in place and keeping them is something that business owners have front of mind. But how hard is it? What causes people to leave their…
Excel Statistics: Facts & Figures [Original Research]
To inform how we teach our Excel training courses, we have conducted new, original research. We wanted to know just how many people are using Excel, and how confident they are with it. For full details of our sample size…
Top 4 Features In Power BI’s 2025 Update!
Power BI has a whole bunch of great new features in 2025! Microsoft just keeps on making this great software even better. Let’s dive in and start learning what new features you should be using! 1 – Smart Narratives 2.0…

Power BI vs Google Data Studio – Which To Pick!
Power BI and Google Data Studio are both great visualisation and analytics tools. But which should you pick up, and why? The main difference is that Power BI is built for enterprise level analysis. While Google Data Studio is…